
I semi-crashed the Martha Stewart’s Wedding Party at Gotham Hall. Stunning, even perfectly ostentatious, it was a princess bride fantasy made real.


I semi-crashed the Martha Stewart’s Wedding Party at Gotham Hall. Stunning, even perfectly ostentatious, it was a princess bride fantasy made real.
My sister has never been one to follow any directions closely. Including Bisquik pancakes and Betty Crocker brownies, she estimates accurately following recipes perhaps a dozen times . . . in her entire life.
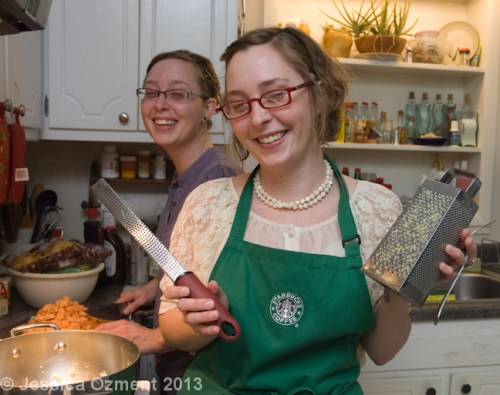
Despite all that, she fearlessly took charge of Christmas Eve Dinner. And in so doing, she illustrated what I love most about my family: unconventional, unpretentious, and bucking any but the bits of tradition that truly hold value.
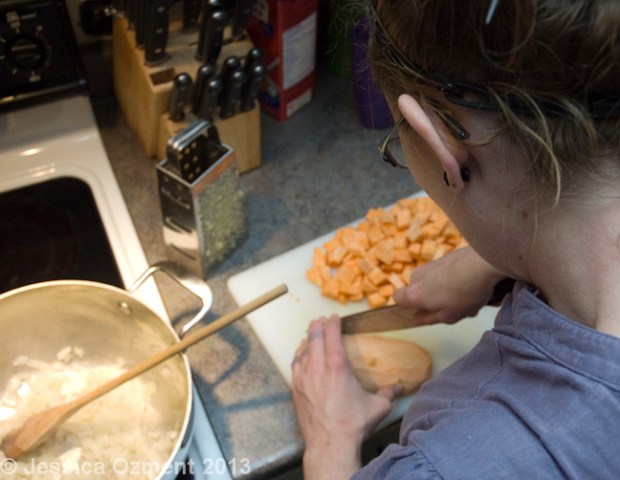
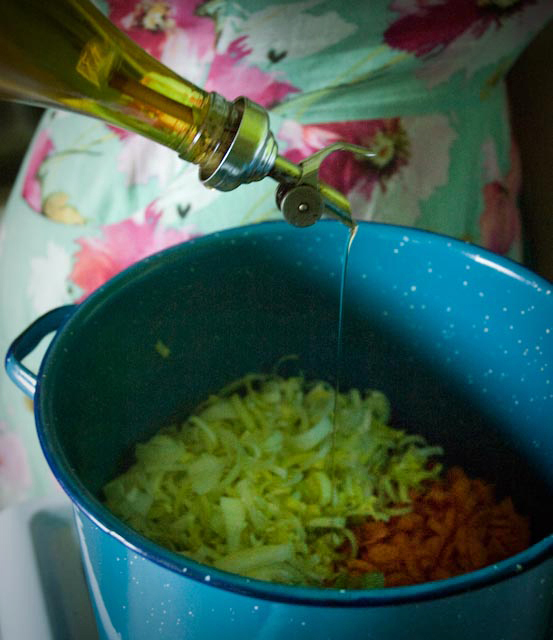
Her inspiration was this recipe, given to her by a coworker (a dietitian). The original garnishes the soup with pumpkin seeds, but true to form, she took a vegan recipe and topped it with ham. The seeds would have added texture and crunch, but the spicy sausage was undeniably awesome.
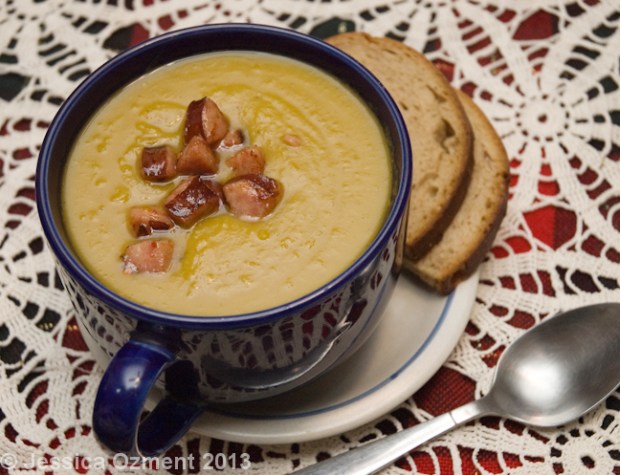
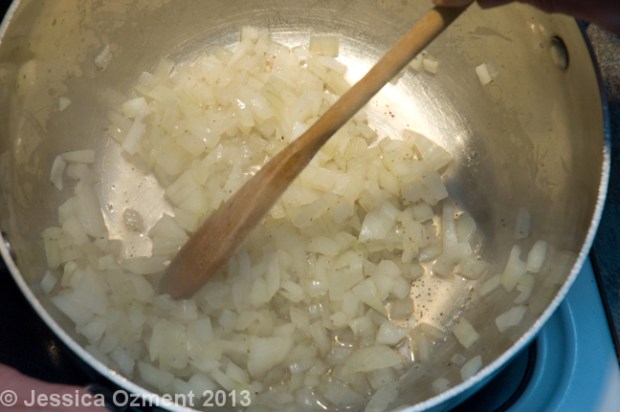
Bring 1/2 cup chicken broth to a simmer in a large saucepot over medium-high heat. Add onion and cook about 5 minutes or until translucent, adding more broth, butter, or olive oil as needed to keep from sticking to the pan. Stir in ginger and cook 1 minute, stirring. Add remaining broth and water, peas and sweet potato cubes, and additional seasonings. Bring to a boil then reduce heat to a simmer. Cover and simmer for 1 hour.
Uncover and purée soup with a hand held immersion blender or in batches in a food processor until smooth. Taste for sea and garnish with pan-fried sausage cubes.
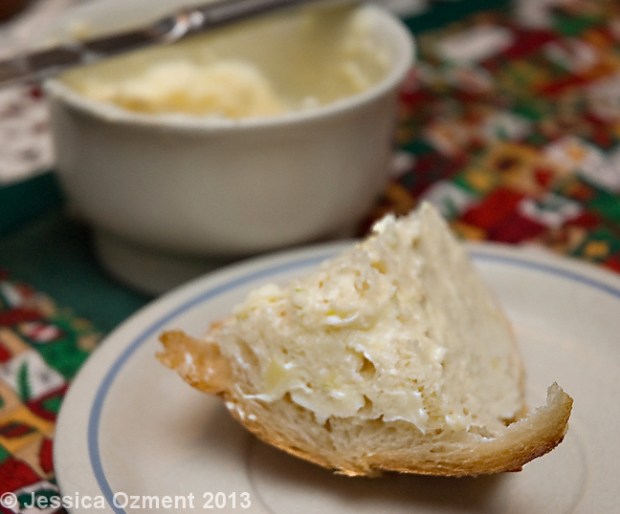
Wrap cloves of garlic in aluminum foil and roast at ~350° for ~20 minutes. Unwrap, peal, and mash garlic cloves. Mix with softened butter.


I am not an experienced baker, but I have done holiday baking as assistant to my lovely sister Jessica. Here documents the most elaborate baking endeavor I’ve attempted on my own.
I saw three bananas in the fruit bowl slowly turning black and decided to make something for the family. We all love cinnamon rolls yet they have had a sporadic appearance on the table. I settled on Banana Bread Cinnamon Rolls from the Cooking Classy.
I definitely didn’t learn from that silly project in elementary school, where they give you a whole list of directions like “write your name on the chalkboard” and then at the end it says to not do any of it, and I definitely didn’t read the recipe directions in their entirety before I started baking. This recipe is intense! The dough needs to be left to rise twice, exact temperatures for the milk and butter mixture when you add the yeast. Anyway, I decided to wing it.

First purée the bananas with lemon juice. I just put them in a standup mixer and squeezed some fresh lemon juice in. I really hope no one finds a stray lemon seed… oops. Meanwhile, I heated the milk and diced butter mixture on the stove. Then I removed the banana bowl and put a new bowl where you add the oil and the milk/butter and let it cool (no thermometer so I just guesstimated) and add the yeast then let it stand for 5 minutes. Thank god for timers on stoves. Next you add the sugar, salt, egg yolk, and 2 cups of BREAD flour and bananas. The directions say to use a paddle attachment; I just used the whisk ones and kept stopping it to fold the dough around. Also, I just used bleached white flour. Then add more flour and corn-starch with a different attachment (I used the same one again) and let it rise for an hour and half.
When I came back I had forgotten where I was in the directions and so I re-read it like 5 times skipping around trying to find my place. Not very time efficient, but that’s the way I roll! In a small bowl I added a bunch of light brown sugar, and dumped in some cinnamon and nutmeg. Measure, you ask, I answer: why?!
Separately, add more flour and baking powder to the now risen dough. I kneaded it with my hands, not the mixer, despite it covering my hands as it is very very very sticky by this point. Next lay it out on a surface that is very floured and roll out with a rolling-pin. Keep a little cup of flour next to you so you can re-flour your hands and the roller constantly. Next, spread melted butter with a spoon, spreading it around with the back of the spoon, on the now flattened dough. Pour the awesome cinnamon roll filling on the dough. The more square you make the dough when you roll it out, the less likely you will have two oblong rolls when you cut. Once it is rolled up (be careful about the dough sticking underneath!! Pull lightly!!) use a large non-serrated knife to cut it into 12 rolls. They will flatten: when you pick them up and put them on a buttered cooking pan, reshape them circular. Then cover AGAIN and let rise for 45 minutes. Bake and then put some awesome stuff on top like cream cheese frosting and nuts.
They are in the oven now… I am very curious if my “winging it” will work. Baking is not always forgiving to this approach.
They look okay, but they are came out looking very powdery from the flour on the outside of the rolls. So, perhaps butter the outside of the rolls so the flour looks like its gone after putting them on the pan.
*A few hours later*
Now that I have awaken from a very pleasant sugar coma, I must say, those rolls are awesome. They may have been better had I followed the directions precisely, but I can’t imagine by much. Cooking is an experiment! And although I thoroughly enjoyed mine, when I am make challah bread tomorrow, I will follow those directions as close as possible and read ALL the directions diligently before I begin.


Since the weather is cooling down, I have become fixated on cold-weather northeastern American comfort food. Nothing beats the cold like a voluminous, and piping-hot serving of stew.
I thought first of a more conventional stew, like sausage white bean and kale, but I wanted to experiment a bit, so I added and replaced some ingredients. Garbanzos seemed like a logical alternative to the white beans, and I am partial to collard greens. They are handily on par with kale, in terms of nutrient density and texture, but I too often see them prepared severely overcooked, their texture subdued, and their flavor obliterated by ham (although that can be a beautiful thing in its own regard).

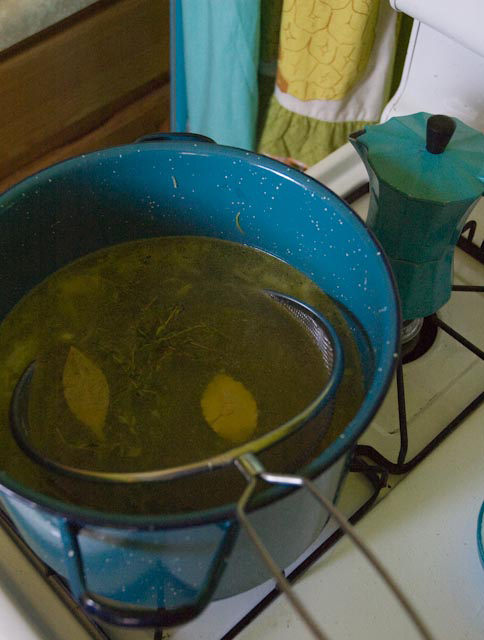
I also wanted to start from scratch as much as possible, so this recipe forgoes the less labor-intensive option of using a store-bought stock for the base, and begins with the preparation of a vegetable stock by first roasting vegetables in the oven. Also, I used dried garbanzos, which required me to soak them overnight, although there is a method for speed-soaking them, or you may choose to use canned.

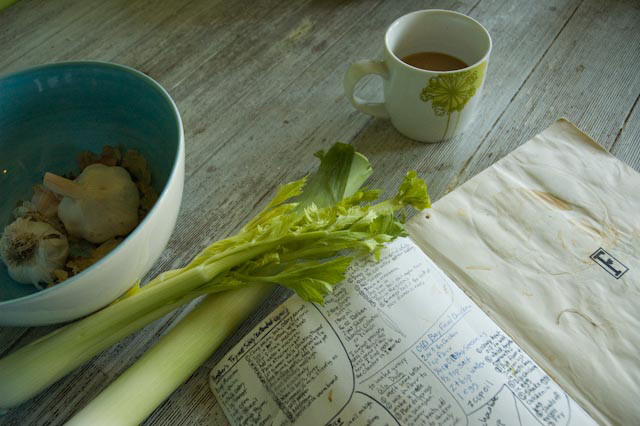
Start by chopping the celery and carrots, sweet potato, and fennel bulb into approx ¼” long pieces, halve the cherry tomatoes, and place these ingredients in a roasting pan. Be sure to remove any green stalk and frond from the fennel bulb, and retain for Jessica to play and stage shots with. Also, remove the leaves from the stems from the collards, chop the stems into ¼” pieces, and add them as well.

Thankfully, Jessica pointed out to me at this point that I was overfilling my roasting pan, and it is desirable for the vegetables to roast, rather than steam. Had she not been there, I would totally have crammed them all into my 3-quart pan. If you find you are overfilling your pan, use a second one, or a larger one, or remove a portion of the vegetables and freeze for later use. You do not want more than two layers of vegetables on top of each other.
Add three garlic cloves to the roasting pan, then coat, but do not drown, the vegetables in olive oil, toss, and season with salt, fresh ground black pepper, rosemary, and Aleppo pepper (red pepper flakes will do if you do not have Aleppo pepper on hand). Insert baking pan into an oven, preheated to 450 degrees F (230 C). Remove the vegetables every 15 min and stir them, making sure to scrape the sides of the baking pan as you do. That brown crunchy stuff on the sides pays big dividends!
After you put the vegetables in to roast, wash the wild rice with cold water, then add to six cups boiling water. Reduce to low boil after 2 min and leave for approx 45 min. Kernels will be tender and split when done. Drain in a colander if necessary, and set aside.


While the vegetables are roasting, and the rice is cooking, dice the onion, and begin caramelizing in a frying pan over medium heat. I prefer cast iron in general, but especially for this purpose. Do not stir the onions. Do not raise the temperature. You will be tempted to stir them and raise the temperature. Don’t do either. If you stir them they will cook down to an uninspiring floppy translucence. If you raise the temperature you will burn them. In fact, as I was caramelizing them myself, I got impatient and raised the temperature. As the pan started to smoke, Jessica said to me “I want to get a shot of the onions perfectly caramelized,” which was no longer possible. Although I burned the onions, we did discover that this recipe is pretty forgiving, so don’t sweat it if you do burn them, but if you can, it’s better to exercise patience; nicely caramelized onions are worth it!


Slice (or separate) the sausage into ½” chunks, and add to frying pan. You can squeeze it out of the casing if you like, but I prefer to keep it in. We used Piccinini Bros Hot Italian Pork Sausage, although I was tempted to use a lamb merguez. Slice the mushrooms, and add once the sausage is nearly cooked. Cook mushrooms down, being sure to do lots of scraping and stirring. There is nothing disposable in that pan. Be sure to test your poison-test your mushroom, sausage and onion combo, for safety, and not because it’s amazing and you could totally stop right here and eat the contents of that frying pan, over some toasted bread or something. Remind yourself that you are making stew, and losses due to too much poison-testing will adversely impact the stew’s spirit-healing magick.

Add garbanzos to bottom of stock pot (I used a lobster pot), cover with water to approx twice the height the garbanzos, and bring to a boil, and reduce to a simmer after 2 minutes. Add the roasted vegetables, the sausage, onion and mushroom combo, chopped parsley and basil, bay leaf, and 2 dried chili peppers. Simmer for 1 hour. You will need enough water for the garbanzos to soak up, but if you find you want to thicken the stew, simmer uncovered for a bit. Stir in coarse chopped collard leaves only soon enough to wilt before serving, approximately 2 to 5 minutes. Put some wild rice in a bowl, cover with stew, garnish with coarse slices of parmesan, and serve.

This recipe serves approximately four people. Also, we noticed when we finished that this recipe is gluten-free!


It’s a remarkable thing to cook an animal the size of a housepet in it’s entirety. But man, talk about a commitment. Limited to a mere once a year investment, my satisfaction and patience are seriously tested by this situation.
Behold, a solution for those with a level of patience comparable to mine:
A bacon-wrapped, intensely flavorful mini-Thanksgiving feast

Butterfly turkey breast. Combine sage, thyme, garlic, shallots, red pepper, salt, and pepper in small bowl. Rub mixture evenly over turkey breasts. Lay out cheese cloth, a bit larger than the size of the breast, and place bacon, slightly overlapping edges, in a column down the center of the cloth. Roll turkey breast into a tight roll and place in the center of the bacon. Braid bacon back and forth over the top of rolled turkey breast. Wrap turkey breast with cheese cloth and tie with twine at ends and in middle. Toss veggies, chopped where appropriate, in olive oil, salt and pepper, and put in the pan. Roast at 375 degrees till the meat is cooked to an internal temperature of 165 degrees (approx. 90 min). Remove from oven and let rest for 15 min. Unwrap and slice to serve.

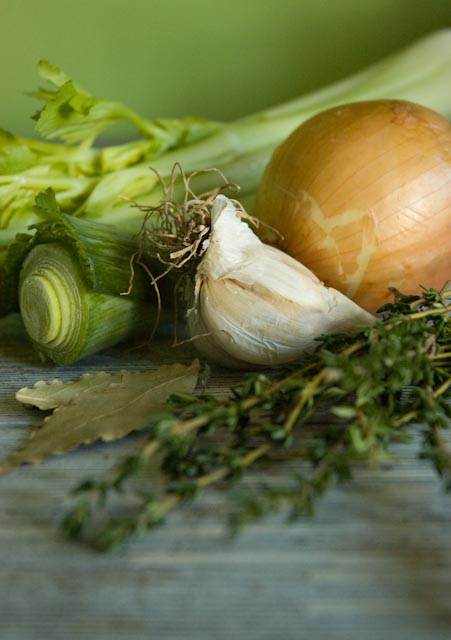
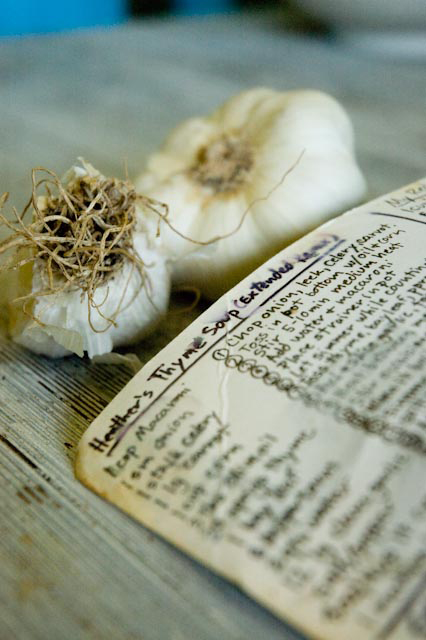
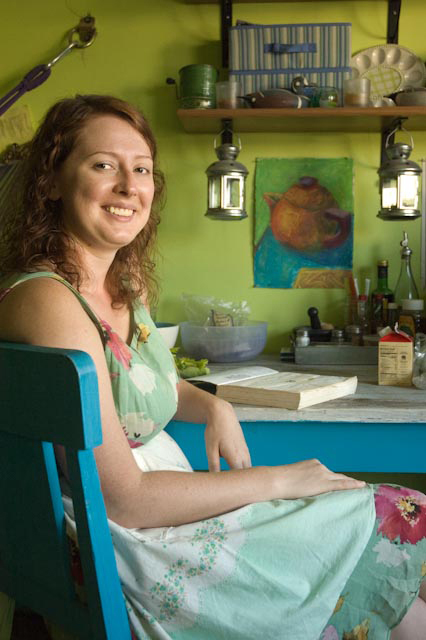
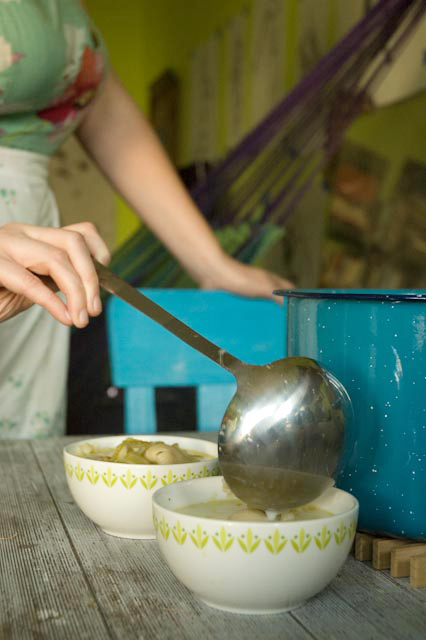
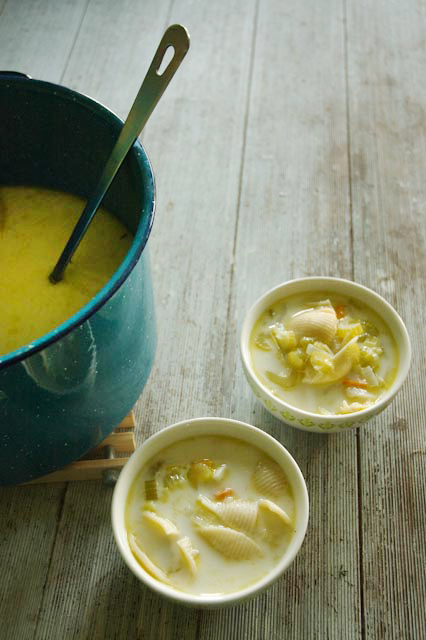
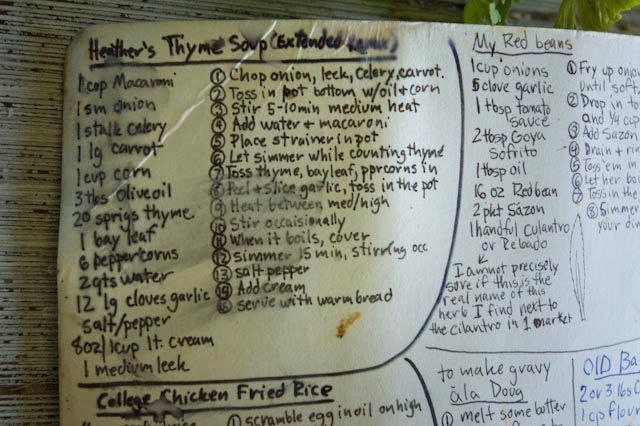
Heather, a self-proclaimed descendant of “pot-pie-people,” explained that this soup evolved from her foray into learning to be a grown-up. The recipe evolved from one she found in a French cookbook checked out of her college library, after moving into her first apartment. The book was a bold choice for a beginning cook and this recipe was initially chosen as the modest option out of many with extravagant ingredients and techniques. Simplified by skipping the work of puréeing the final product, this ‘remixed’ version is far from the fussy original.

SOUP, FRENCH STYLE


The essential oil derived from thyme (thymol) is an antiseptic and is the main active ingredient in Listerine.
My previous post was a partial tribute to tamales, but a variety of particular note deserve an ode of their own.

Carmen Mendez, chef and owner of the E 138th Street cart, is the woman responsible for supplying the south Bronx with tamales every morning for the past 8 years. She is a native of Tlapa de Comonfort, in the Mexican state of Guerrero. The small city lies on the western border of the state of Oaxaca; here oaxaqueños are the popular regional tamales. Like their more common corn-husk wrapped cousins, masa dough surrounds a delicious filling, but an oaxaqueño is wrapped in a banana leaf. The flavor of the banana leaves seep into the oaxaqueños, giving these tamales a distinctive taste.


Tamale is a derivative of tamalii, the word for “wrapped food” in Nahuatl, an Aztec language. Tamales are recorded as early as 7000-5000 BC, when, as war inspires invention, they were created as portable food for Aztec, Mayan, and Incan warriors.
The tamales of old came in varieties not seen today. Crushed rice or beans were used at times in place masa. Frog, iguana, gopher, rabbit, turkey eggs, bees, and nuts were acceptable fillings; any non-poisonous leaves, even paper or bark, were acceptable wrappers. They were grilled, roasted, boiled or fried in addition to steamed.
Because tamales are labor intensive -and delicious!- it is virtually unheard of to make just a few. A food this fantastic calls for a fiesta: a tamalada, a tamale-making party.♦

Two food items that rock my world right now are striking in their similarity: hand sized portions of a starch jammed with filling, gift wrapped and steamed to edible perfection.
I am grateful that my place, both on the planet and in history, allow for these foods to coexist in my diet because the origin locations are about as distant from one another as is physically possible. Chinese zongzi (glutenous rice dumplings) are usually wrapped in bamboo leaves into a pyramid shape and filled with things like cubes of roasted pork, boiled eggs, shredded chicken, taro, and Chinese sausage. The ones pictured, from Kam Man supermarket on Canal Street, have a filling of azuki beans, boiled peanuts, and shiitake mushrooms.
The tamale stand in my ‘hood is run by a mother & son from Oaxaca. The mother does the cooking, wrapping and steaming her tamales in corn husks after filling them with chicken in salsa verde, pork in salsa roja , picante queso & vegetables, or a sweet version studded with raisins.
Zongzi and tamales are serious comfort foods, despite neither being part of my experience till long after my childhood.


We delight in the beauty of the butterfly, but rarely admit the changes it has gone through to achieve that beauty.
Maya Angelou

I spent a moody afternoon chasing butterflies on Wards Island. The park works magic on me. Manhattan a perfect picture across the river, and car engines barely audible in the distance, my anxiety melts away.
The island has a particularly colorful history. It has hosted a British Revolutionary War post, a cotton mill, and an immigration station predating Ellis Island. The island is the transplanted home of hundreds of thousands of bodies dug up from the graveyards in Madison Square and Bryant Park. It boasted the biggest hospital in the world (1850), later the largest psychiatric hospital in the world (1892, with 4,400 beds!), and now houses New York’s criminally insane.
The wild past, these incriminating facts, increase my enchantment with the place. In contrast, how quick and harsh I judge myself and others on the equivalent. Here’s to appreciating whatever you consider the grimy, grubby bit of yourself, past or present!


A teacher friend of mine, using her summer vacation to cross things off her bucket list, revealed to me her intention to lose her pastry-making virginity. She consented to have the occasion documented. Here is the result.


I’ve made a pie crust or two in the past, but with highly inconsistent results. Apparently, the keys to success are SPEED & TEMPERATURE.
As with all flour related cooking experiments, the gluten development (or rather the lack of it in this case) is the important factor in a delicate, flaky pastry. Gluten is the protein structure that forms when gas is released as bread rises; a high protein flour will allow the stretchy, chewy, workable dough ideal for say, pizza crust. So alternatively, using a low protein flour and discouraging gluten formation will result in a more delicate pastry.
Keep the dough ingredients chilled and work the dough as little as possible. Chill both the fat and the water. As for the type of fat used, butter is great for flavor, and shortening for texture- a combination works especially well.

Recipe adapted from Betty Crocker and Joy of Cooking
In medium bowl, mix 2 cups flour and the salt. Cut in the shortening and butter using a pastry blender. Sprinkle with cold water, 1 tablespoon at a time, tossing with fork until all flour is moistened and pastry almost cleans side of bowl, adding 1-2 teaspoons more water if necessary. It should still look dry. Pinch some of the dough to see if it clumps together: if it does, it’s ready.
Gather pastry into a ball. Divide in half; shape into 2 discs and wrap in plastic wrap. Refrigerate for about 45 minutes.
Heat oven to 425°F. With floured rolling-pin, roll one disc into a sheet 2 inches larger than upside-down 9-inch glass pie plate. Roll sheet of dough around rolling-pin & transfer to the pie plate. If it tears or cracks, just pinch it together again and use scraps & water to repair any holes.
In a large bowl, mix the sugar, 1/2 cup flour and the cinnamon with the blueberries and spoon into pastry-lined pie plate. Sprinkle with lemon juice and the butter cut into small pieces. Cover with top pastry. Cut slits in it and crimp the edges either with a fork or by pinching around the edge with your fingers. Cover edge with a strip of foil to prevent the rim from getting too brown.
Bake 35-45 minutes or until crust is golden brown and juice begins to bubble through the slits in the crust, removing foil for last 15 minutes of baking. Cool 2+ hours for the increased possibility of intact slices.
